Removing the Luggage Carrier
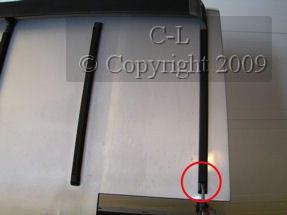
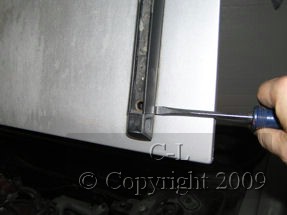
1 - Insert a screwdriver under the rubber trim and remove it
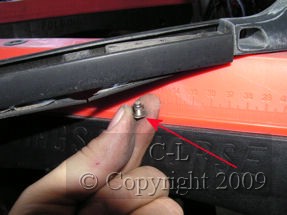
2 - Remove the 2 railing screws (front and rear) on each railings (Note: center rail has 3 screws)
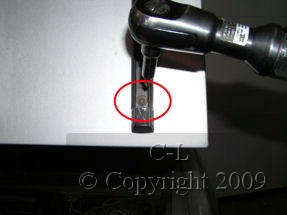
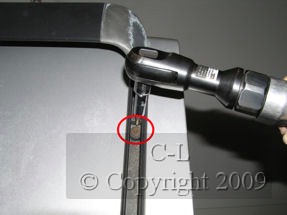
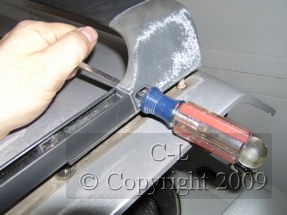
3 - Insert a screwdriver under the railing ( or in the railing tie down loop) and CAREFULLY loosen it from the trunk
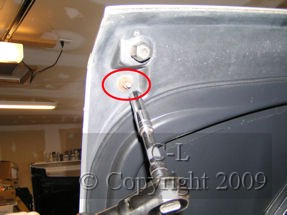
4 - From the inside side of the trunk, remove 2 luggage rack nut (one at each corner)

5 - Placing a screwdriver in the tie down loop CAREFULLY lift the railing
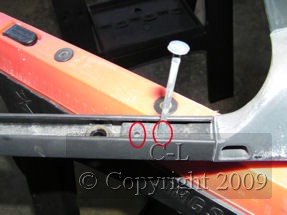
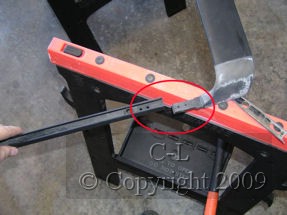
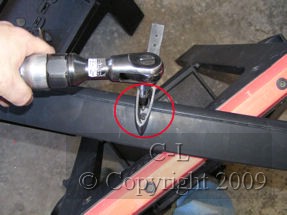
6 - Place the luggage rack on a work bench. With the help of a punch (or nail) drive out 2 rivets for the 2 end rails and the center rail (note, keep those rivets, they can be reused).
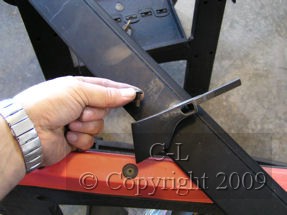
7 - Remove the rail from the luggage rack assembly.
8 - Remove the screw for both end stands under the spoiler

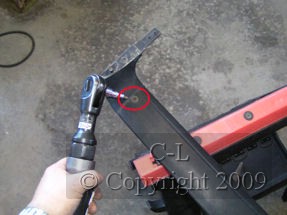
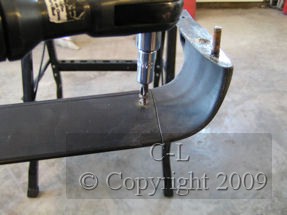
9 - Remove the bolt from the center stand under the spoiler
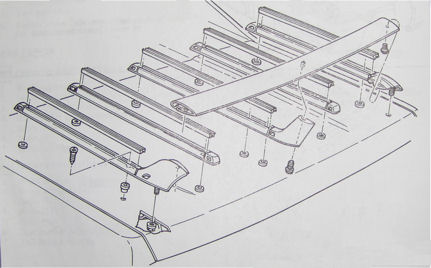
Schematic: